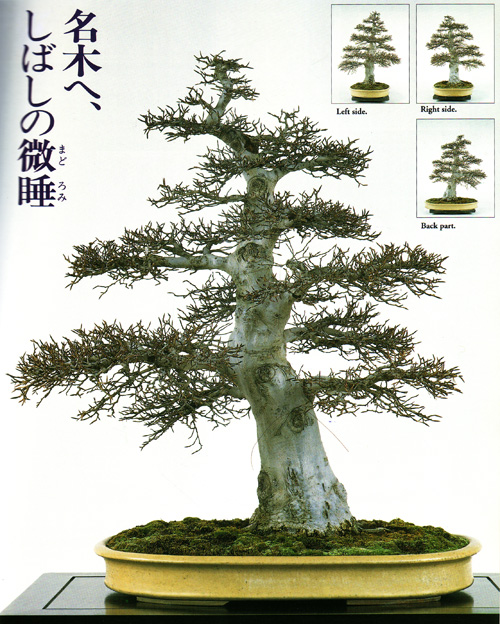
Ten years later. This Japanese beech is from an air-layering that we began showing several weeks ago (part one and part two). We promised a third installment (and almost forgot), so here it is. You can see the whole ten year process in detail in Bonsai Today issues 48 and 49.
It this technique really simple?
Though each step is fairly simple, there are so many steps that you might question our original notion that this is a simple technique. I guess your view of relative simplicity might depend upon your experience and your patience.
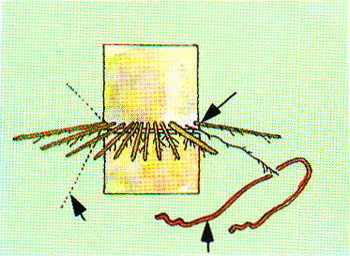
Step 9 (one year after starting the process). Gently remove the soil from around the layer. Then remove the piece of wire and cut off any roots that grow upward or downward so that only a level row of roots remains.
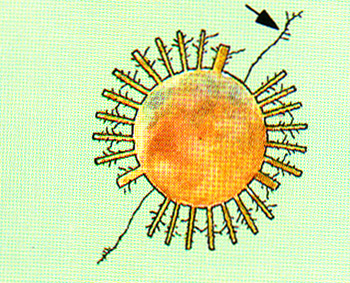
Step 10. Shorten the medium thick roots to about 2″ (5cm) and the thickest to about 1″ (2.5cm). Leave any very fine roots (see arrow), they are very important.
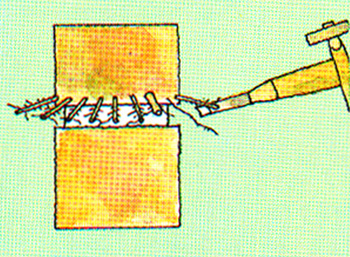
Step 11. Widen the original groove to about 3/4″ (2cm) and deepen it to about 1cm (almost 1/2″).
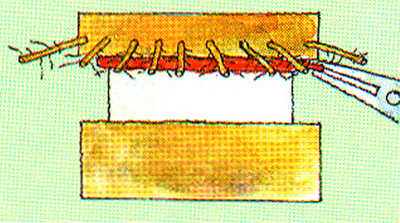
Step 12. Put a piece of 4mm wire around the top of the carved groove.
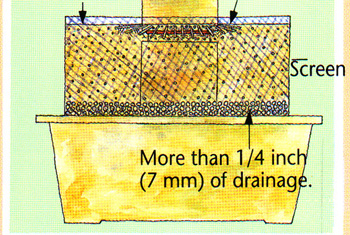
Step 13. Replant using screen and sand just like before (step 6). Put a thin layer of sand on top of the roots and a layer of finely cut sphagnum moss on top to protect from drying out too fast.
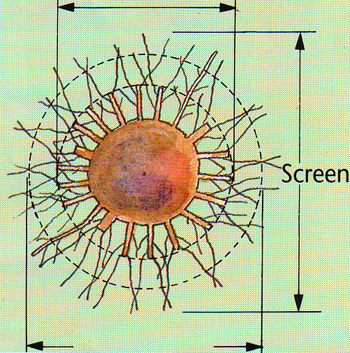
Step 14. One year later (two years after beginning). The lines with the shorter arrow (at the top) show where you cut the roots last year. The lines with the longer arrow (bottom) show that you cut the roots to about twice the length this year as you did last year.
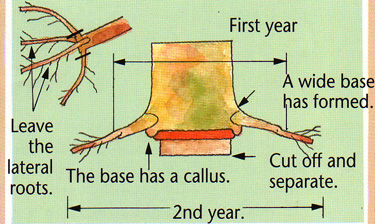
Step 15. Side view. Cut off heavier roots (not the fine roots) that are growing up or down and leave lateral roots. Remove the wire and leaving a little stump below the roots (you can cut it off later when the roots are stronger), cut off your newly layered tree with a sharp saw. Be careful! Plant it in a growing pot with regular bonsai soil.
If you want more…
…see Bonsai Today 48 and 49. Otherwise, you are on your own. Good luck!