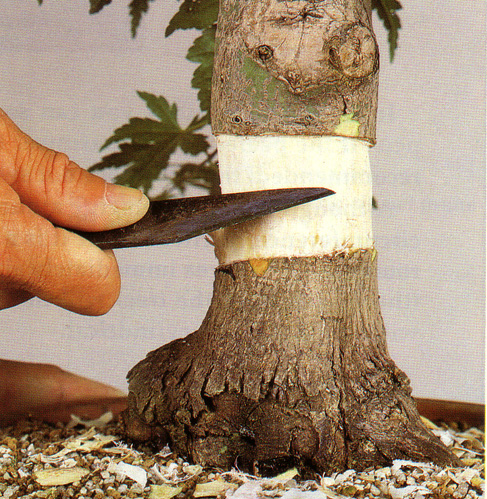
 This photo shows step two (see below). From this angle you can see that the current base of the trunk is a mess. After layering we’ll have a new base, though it’s unclear from this photo why this spot (at the top of the layer) was chosen. My guess is the author picked this unattractive tree for instructional purposes rather than for aesthetic reasons. The photos are from Bonsai Today issue 20.
Your basic layering technique
This one is actually simpler than the previous ‘simple’ technique. It’s the most common way to air-layer. It is quite easy and when done properly, almost always produces the desired results. If you are interested, we just finished another layering technique with three installments (part one, part two and part three).
Japanese maples and other deciduous trees
The tree shown here is a Japanese maple, a very easy tree to layer as new roots form quickly. The same goes for most other deciduous trees.
When to layer
Late winter is the best time to layer, though the example shown here was done in August (in Japan) just to prove how easy it is to layer maples. Though it’s not late winter (unless you are in the southern hemisphere), introducing this technique now will give you time to plan ahead.
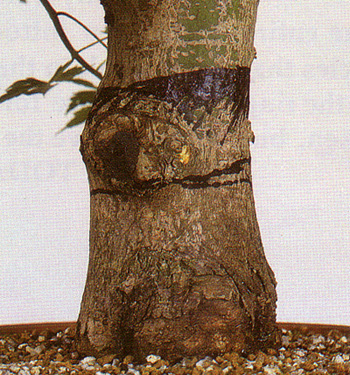 Step one: Draw two lines at the top and the bottom of where you want to cut. The distance between them should be 1 & 1/2 times the diameter of the trunk.
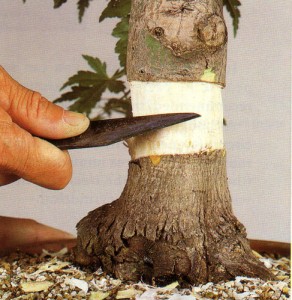 Step two: Make a deep cut (use a sharp grafting knife) along each line. Then make a vertical cut that connects the two lines and peel the bark off the trunk. If it doesn’t peel easily, you can scrape it off with your knife. Then use your knife to scrape off the cambium layer (the green layer below the bark). It’s important to get it all off.
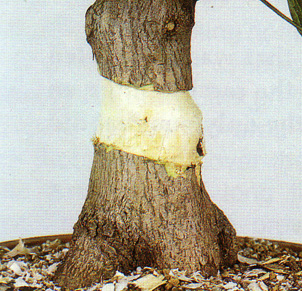 After all the peeling and scraping is done, this is what you’ve got. Notice the angle. It looks like the artist wants to plant the future new tree at a slightly different angle than the current one.
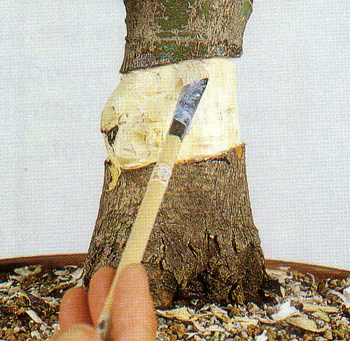
Step three: Use a brush to apply a rooting solution to the entire peeled area. You can do it without a rooting solution, but why gamble?
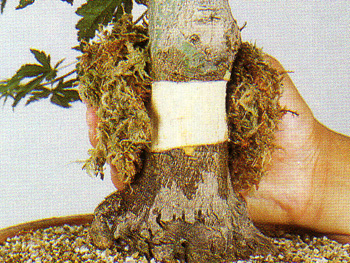
Step four: Wrap long fibered sphagnum moss around the entire peeled area. It is important to soak the sphagnum in water before you apply it.
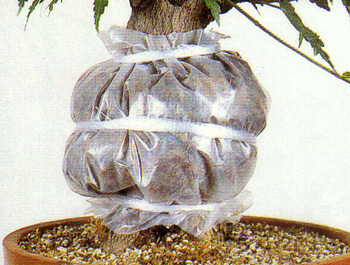 Step five: Wrap the sphagnum moss with transparent plastic and secure it with ties. Make sure the top and bottom are tightly sealed so the moisture stays in. If you are layering a slow rooting tree (like a pine or some other conifers) you may have to losen the top tie from time to time to re-moisten the sphagnum.
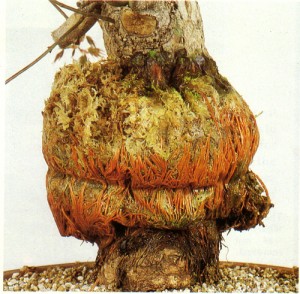 Step six: Remove the plastic when you can see an abundance of new roots (that’s why you use transparent plastic). Now it’s time to separate the layer.
Step seven: Separating the layer (not shown here). See XXXX for step seven.