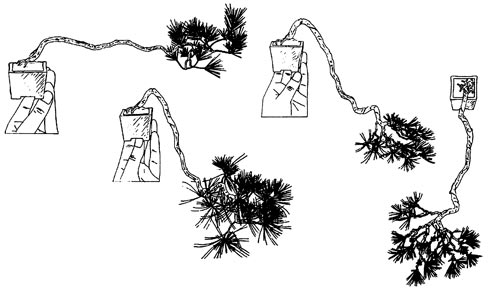
 These illustrations by Kyosuke Gun show three stages in the development of simple shohin cascading bunjin style pine. Though we don’t know for sure, we might assume that these illustrations are of an actual tree, as many, if not most of Mr. Gun’s illustrations are based upon actual bonsai. The illustration originally appeared in Bonsai Today issue 39.
Small adjustments with big results
One of the purposes in this post is to show how a couple simple changes can turn an untrained stock plant in to presentable bonsai.
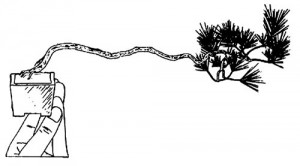 First stage: Picking good stock
The secret to success is picking good stock. This untrained little tree already has some age and character and it’s long undulating trunk will make for a perfect cascading bunjin style bonsai.
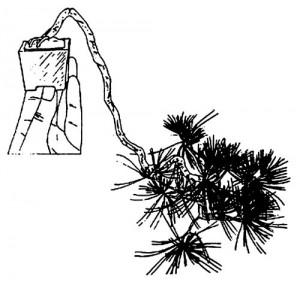 Second stage: One simple bend
Wire has been used to create one simple bend that transforms a stock plant into an unfinished but presentable little cascade. It’s often the case that one simple change in a trunk line can produce the results you are looking for.
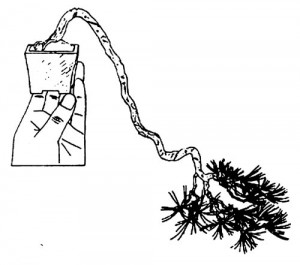 Third stage: Refining the branches and shoots
Shoots that grow up or down are eliminated (this is easy to see if you look back to the second stage). The remaining shoots are pinched (see below), wired and spread in a pleasing fashion.
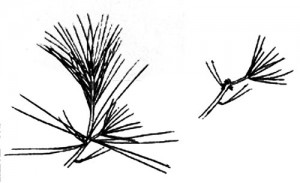 Third stage detail: Removing some needles and a long shoot
A strong shoot that grows upward, and creates a messy look, is removed. Some long needles are also removed. When you do these kinds of detailed operations, be careful not to damage the buds that appear at the junctures of the shoots and needle clusters. Leaving the sheaths where the needles were, helps to avoid this kind of damage. For more detailed instructions on how to thin pine needles, check out our Masters’ Series Pine book.
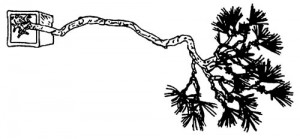 Third stage: Bird’s eye view
This view from above shows how the small branches have been wired and spread to allow light and air in and to create a refined, harmonious feeling. No great mystery here, just a few simple procedures and suddenly you have an excellent little bunjin bonsai.