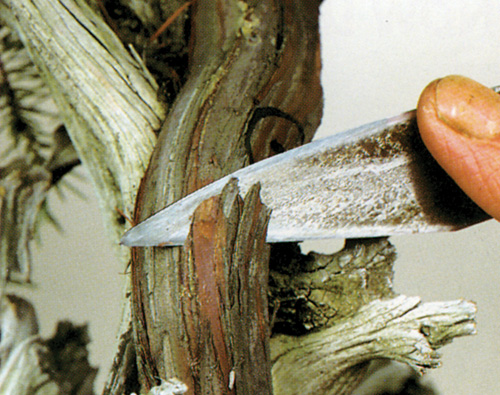
All you need to get started is a good sharp grafting knife and willingness to experiment.
An easy way to add a branch
The simple technique shown here allows you to keep the roots of the scion until it takes; an obvious advantage.
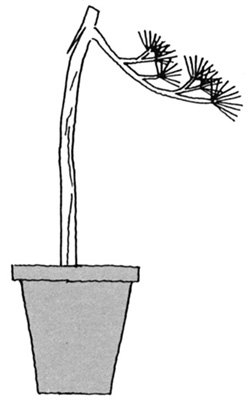
The scion, aka the branch to be, will remain in its pot until it takes. The part you want is the branch growing off the right of the trunk. Notice the slit (notch) to left of that branch.
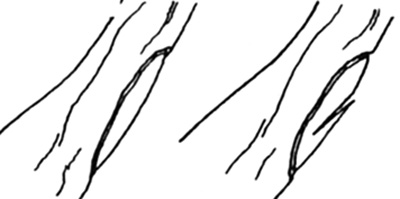 This shows where the scion will be grafted on. In the left drawing the bark has been removed down to the cambium layer (green layer under the bark). In the right drawing a notch has been made to receive the scion.
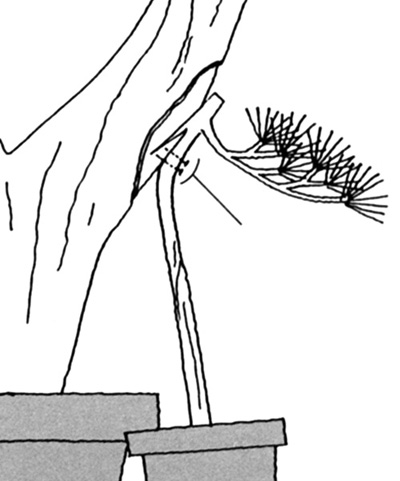
Joined. The two notches fit together. Two small nails (you can remove them later) are used to hold the graft in place. When the graft has healed and you are sure that it has taken, you can separate the new branch from its trunk and roots and use a concave cutter and a chisel to clean up the remaining stubs.
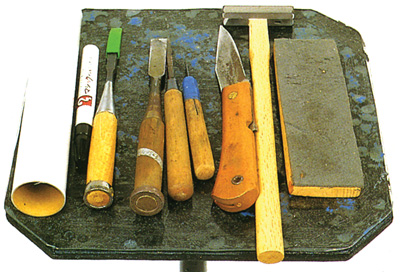
Some grafting tools. The knife and chisels are essential. You can find this photo and the rest in this post in our Masters’ Series Juniper book. They originally are from Bonsai Today issues 14 and 41.
Thanks, that will be quite useful. I have been considering a graft for a couple of my trees and was concerned the usual methods were beyond my experience. This sounds a lot simpler.
Fred Elford
Thats a nice demo we need more info like that. Good job!
Any chance someone has photos of an actual graft, or are there only drawings?
There are quite a few photos of the graft and other grafts in our Juniper book. http://www.stonelantern.com/Junipers_Growing_and_Styling_Juniper_Bonsai_p/b1jun.htm
Piece of cake NOW!!
Thanks Wayne, quite easy & useful
Cheers