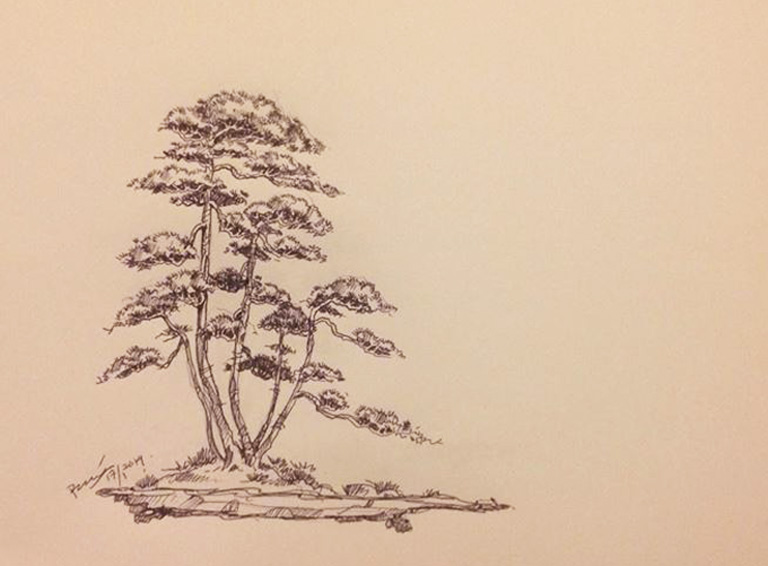
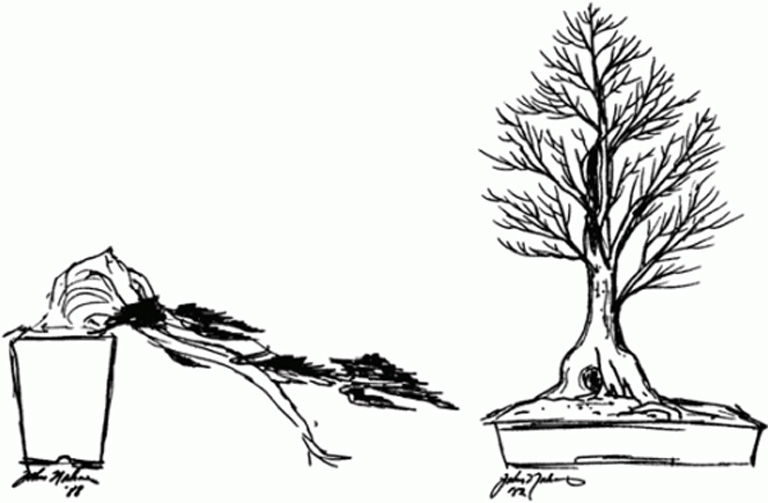
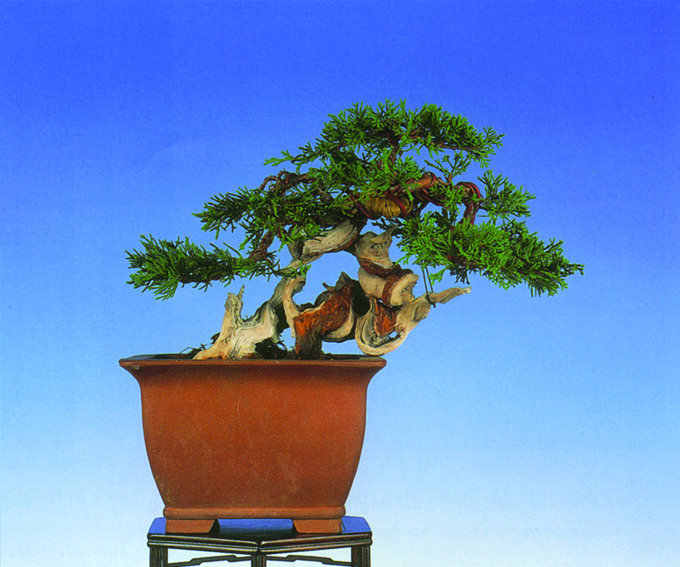
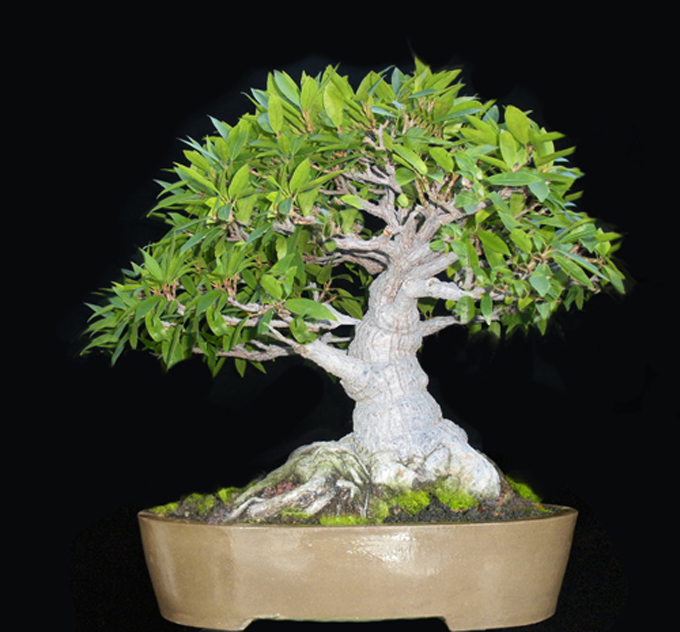
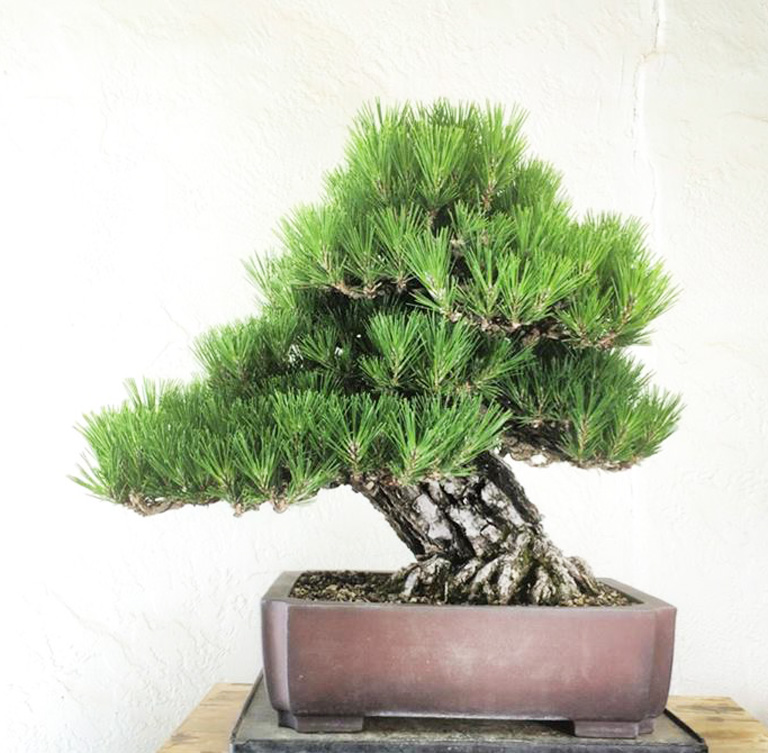
 Robert’s digital simulation of a Ficus nerifolia that was submitted by Tom Kreugl.
Busy traveling so we’ll dig up another post from our vast archival past. This one is from September, 2010. It’s one of numerous Robert Steven critiques that provide simple lessons in bonsai design, with several useful tips. I think it’s particularly good for beginners and those of us who have been stuck with beginner level skills for too long (all of Robert’s critiques are good for beginners and for more advanced enthusiasts too).
While we’re talking about Robert Steven, this might a good place to mention that he is the owner of Bonsai Aesthetics Tools and that we are running a 25% off sale on these Aesthetics Tools that is about to end (tonight at 11:59pm EDT).

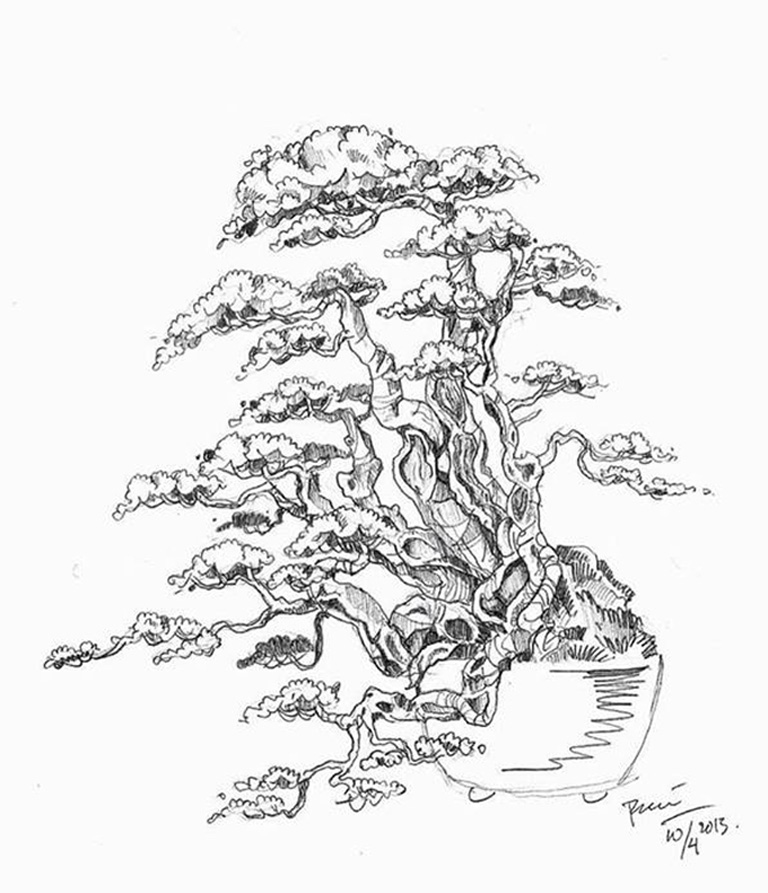
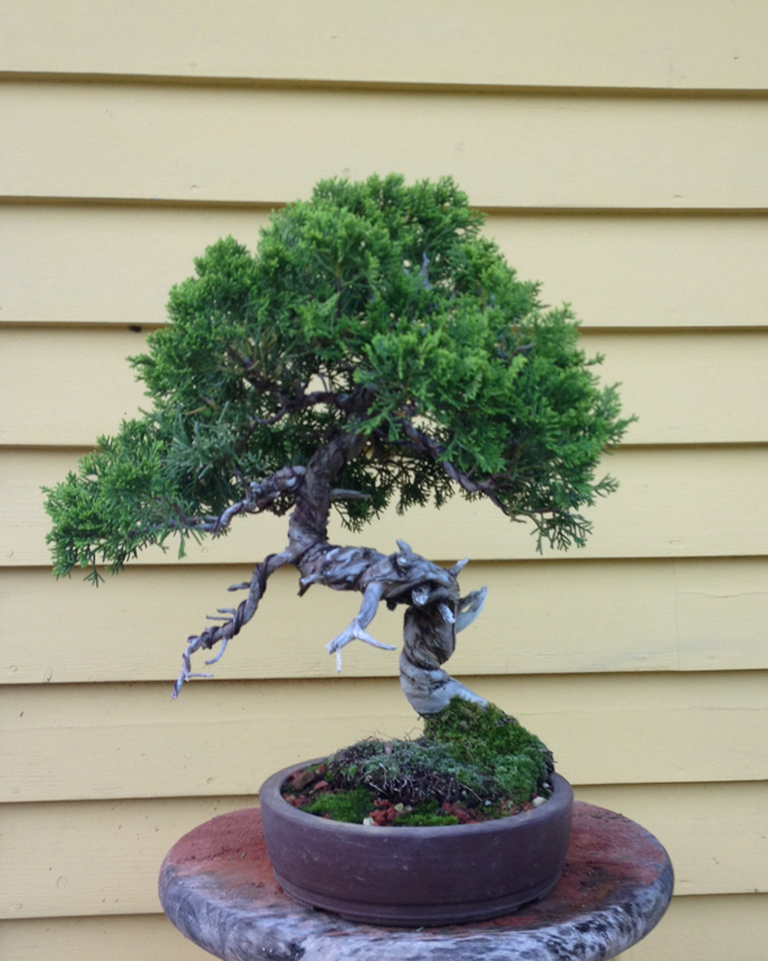
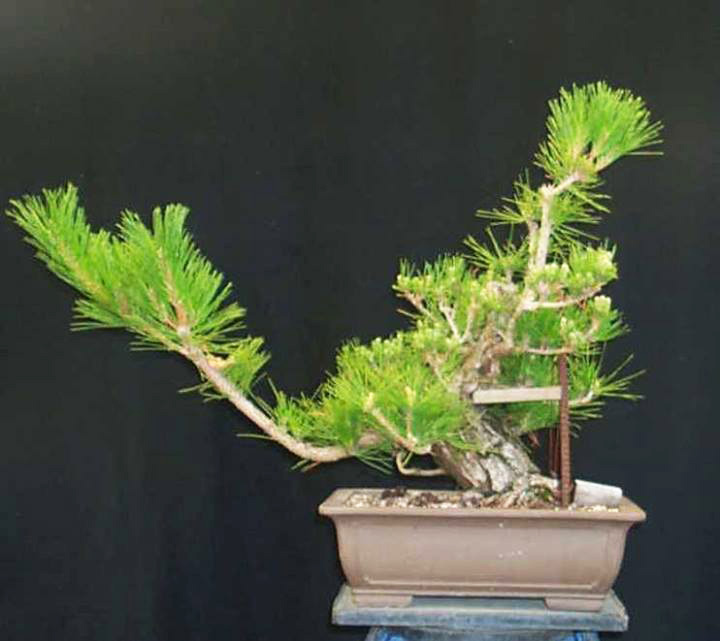
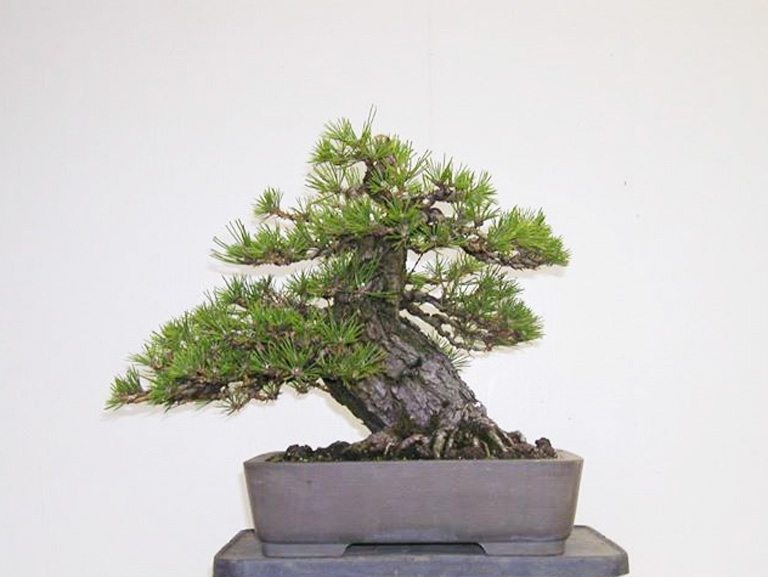
Tom’s original. The small stick marks the front Tom has chosen.
Robert’s critique
In spite of the tree itself, this is a photo that I do not like (sorry!). There’s a problem with appreciation of the art of bonsai because the photo cuts off part of the pot.
The very basic concept of bonsai art as quoted in Chinese “yi shu er pen san ji jia” . Yi = one, shu = tree, er = two, pen = pot, san = three, ji jia = pedestal, these are the three elements considered as a must in bonsai art (tree, pot and stand). For our purposes at least, the first two elements (tree & pot) should be an inseparable unity. Otherwise, it is simply not a bonsai.
Now to the tree:
– The overall design lacks a natural look. It also lacks a convincing connection between the root formation and the slant of the tree. In other words, the design does not follow the rules of plant physiology. As you may know, a tree’s movement always follows the direction of the roots. A one-sided root formation will never form a symmetrical, formal tree shape; the tree will always grow and flow to the side where the roots are growing.
– You don’t always need to expose everything in the front view. When we try to show everything, we show nothing. Due to the over-exposed branches and the messy foliage, the tree does not look well refined. The leaves are also too big. This gives the tree a young look.
– The pot is too big and the soil surface is not natural looking.
Robert’s solution
– Re-design the composition to create the flow to the left (see the simulation above).
– Refine the foliage just enough to show the tree’s major branches (ramification) and the lower part of the trunk. Trim the the foliage around the tree’s edges so the leaves will look smaller.
– Use a smaller oval pot and place the tree slightly off-center.
There is more than one way to design any bonsai and my critiques and recommended solutions might not always fit your taste because of personal preferences. But I always try to give my opinion based on artistic and horticultural principles.
To understand my concepts better, please read my books Vision of My Soul (out of print) and Mission of Transformation which are available at Stone Lantern.
You can also visit my bonsai blog.
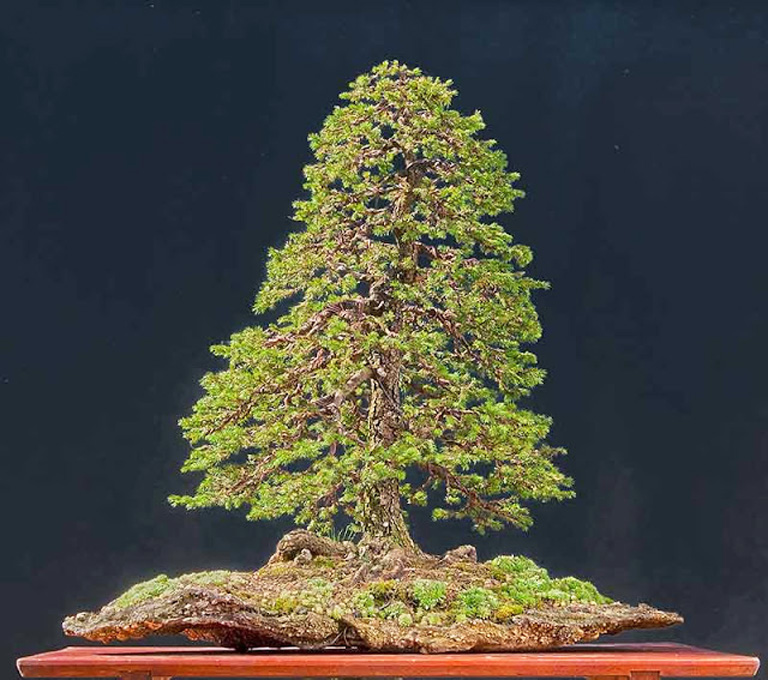
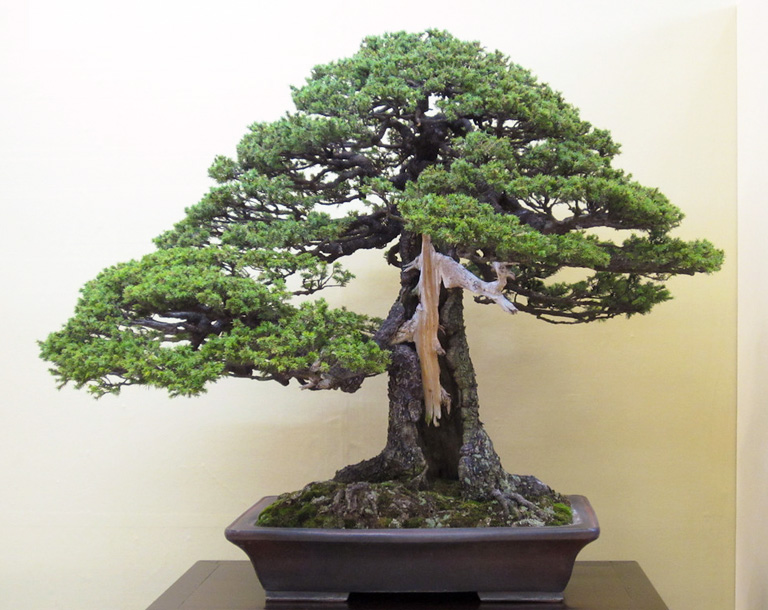
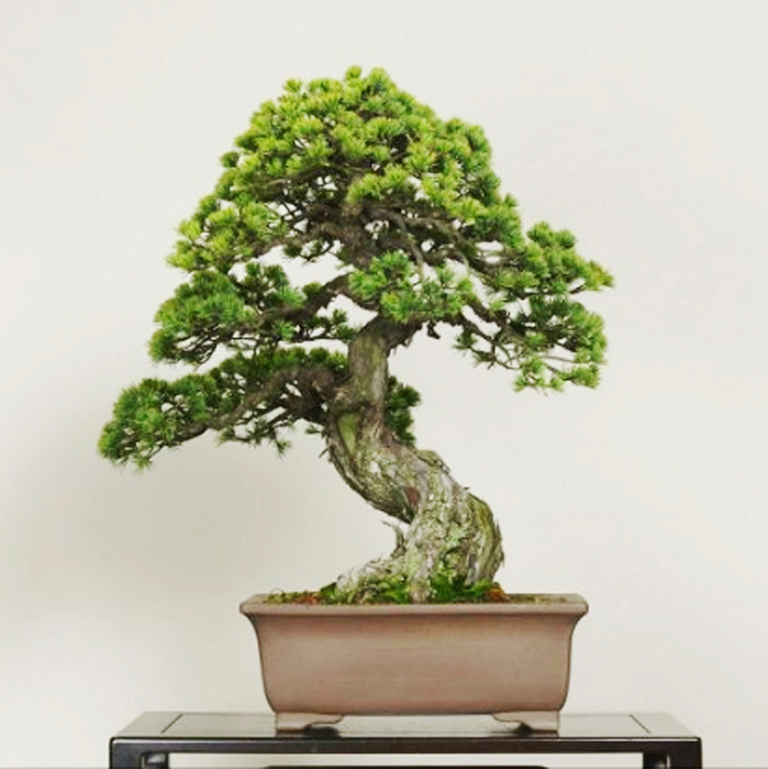 Goyomatsu. Japanese white pine from the Omiya Bonsai Art Museum’s gallery.
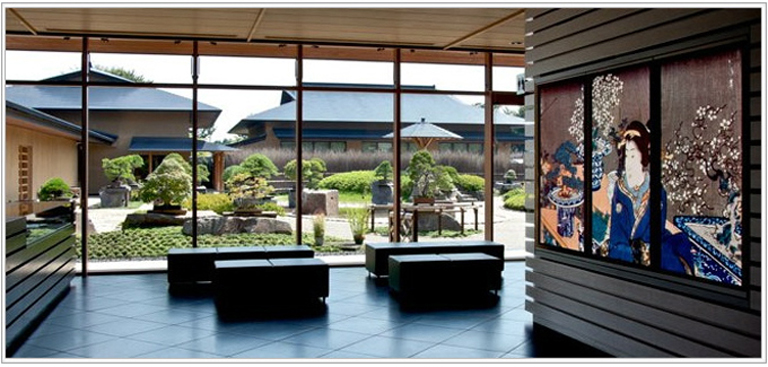
 Assassins. Bonsai Mary (aka Mary Miller) has a good article on beneficial insects. There’s one shown here about to eat these nasty little critters.
 Can’t resist all this color. One more photo from the Omiya Bonsai Art Museum.
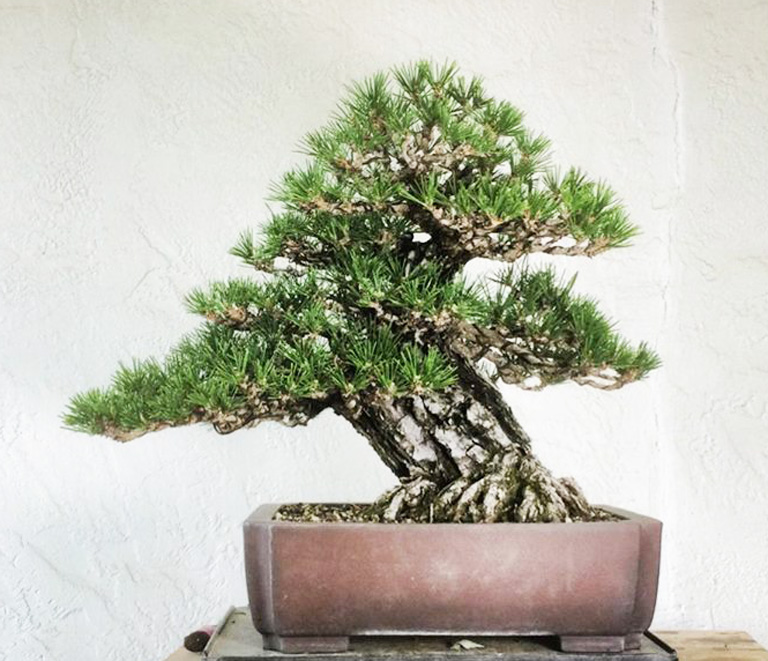
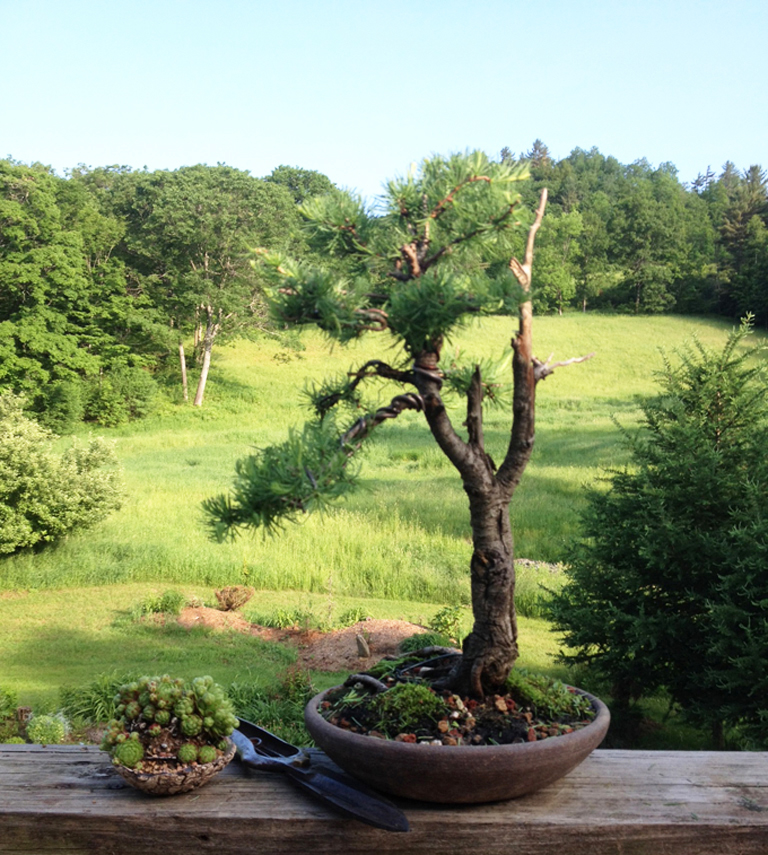
 Shaping up. This one is labeled January 2005. At the risk of stating the obvious, you might notice the two sacrifice branches. They are there to strengthen the apex by drawing energy up.
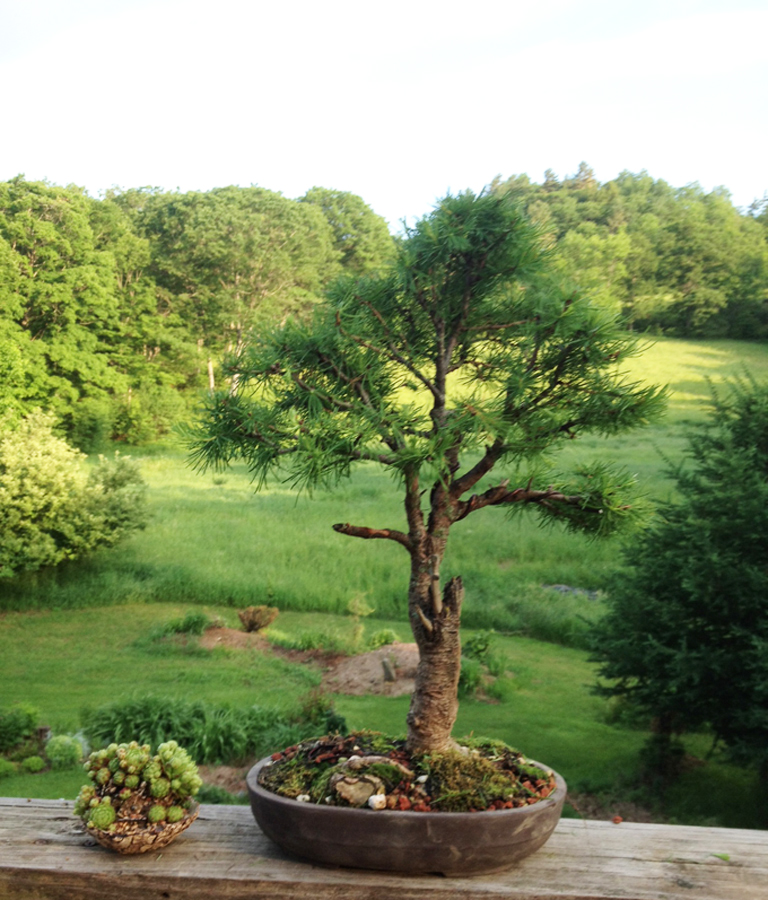
 Back to the future. Boon labeled this August 2015. But upon cross examination he admitted that he was rushing the future.
 This is not the first time we’ve shown this remarkable old Ezo spruce with it’s unusual shari. It’s a 2011 Kokufu winner. The photo was taken
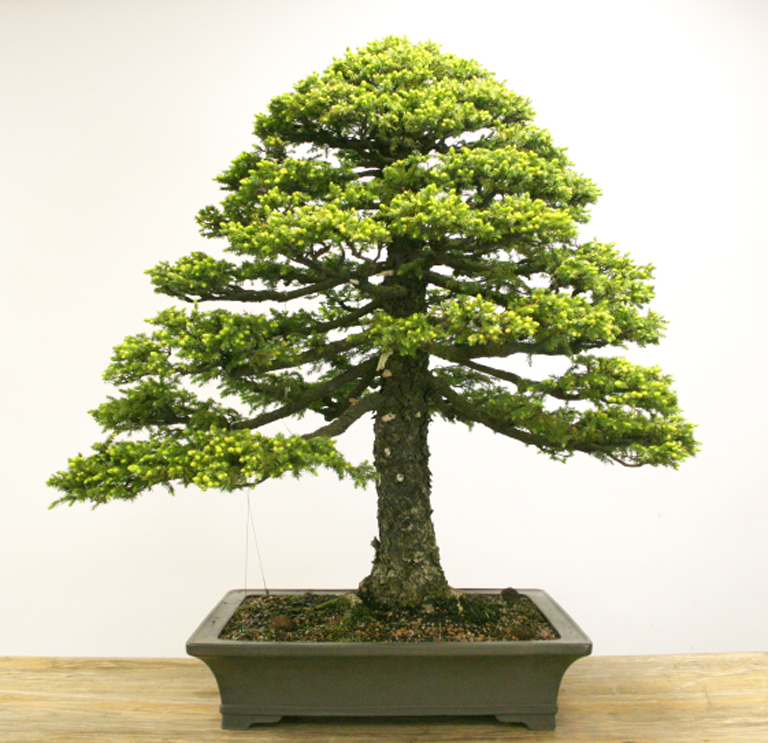
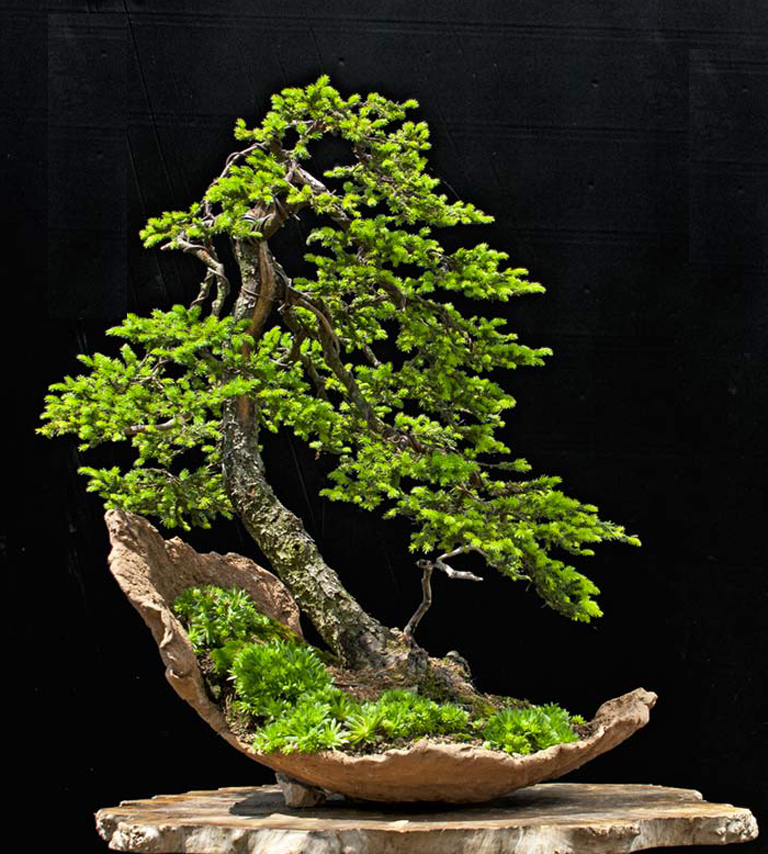 This photo shows the result of another radical Ezo transformation by Walter Pall. If you look
  We’ve shown this now famous
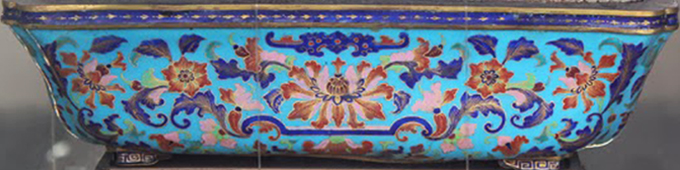
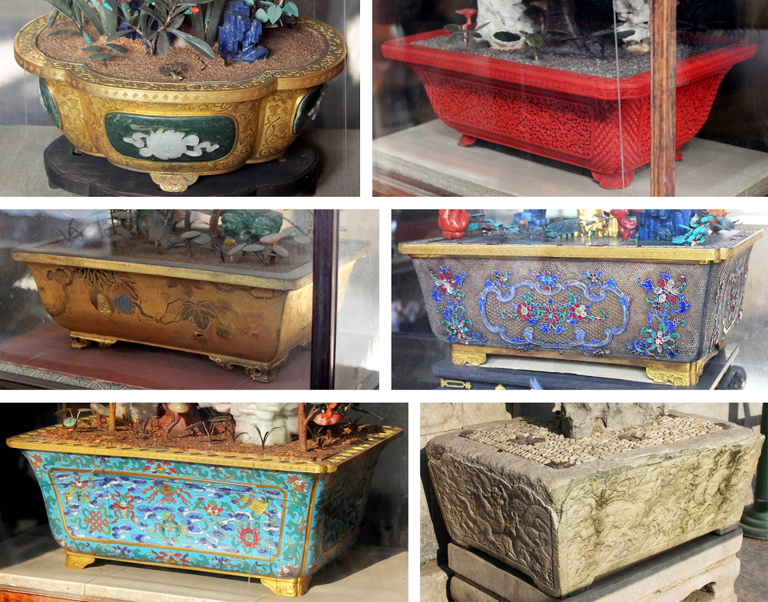
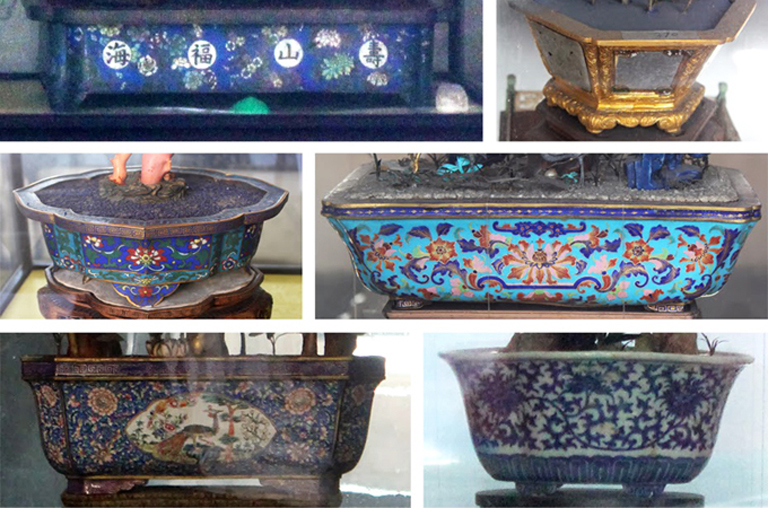 In Kigawa’s own words: “One aspect of interior décor there was common occurrence of fake plants. These fake plants were made of many different materials and always came in pairs. In fact, traditional Chinese interior design is very symmetrical and to accommodate that many furnishings must come in identical or almost identical pairs. Anyway, the containers housing those fake plants are the main topic of this post. Images below show some of the containers I spotted in various buildings.” Kigawa’s text continued below.