Bonsai Rafting

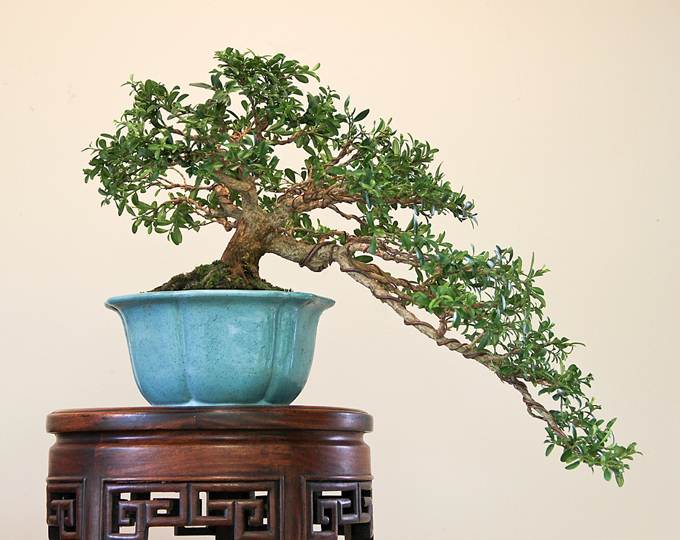
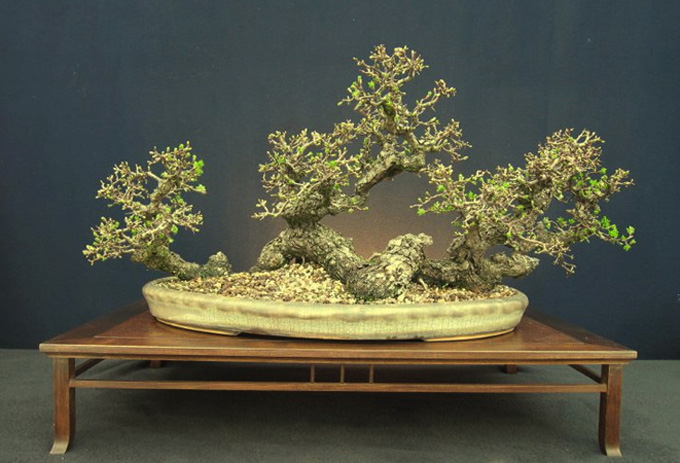
Crataegus raft by John Pit. Wow. What a unique and compelling bonsai. A true sinuous raft style planting. You don’t see too many of these and I’ve never seen one quite like this. Great pot too. John Pitt is a well known English potter, so  I imagine he made the pot as well as the planting.

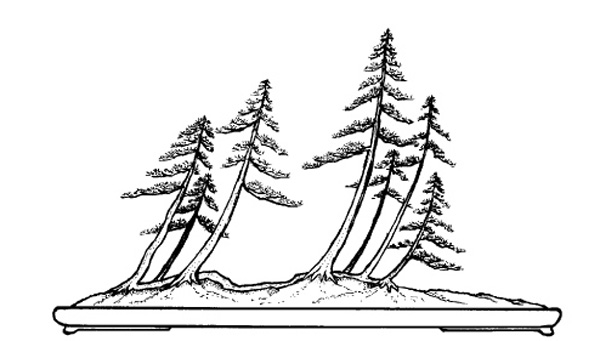
This drawing is from an article on raft style bonsai on Bonsai Culture Group Malta. I just discovered this site, and haven’t had time to explore it, but on the surface, it looks quite good with a wealth of bonsai information.

Stone Lantern’s new low prices
Did you know that we lowered our prices on almost everything we offer? Actually, we did it twice. The second time was quite radical. So radical, that we now have the lowest prices anywhere on many of our large selection of quality bonsai items.

Nature, Picasso & the Hand of Man

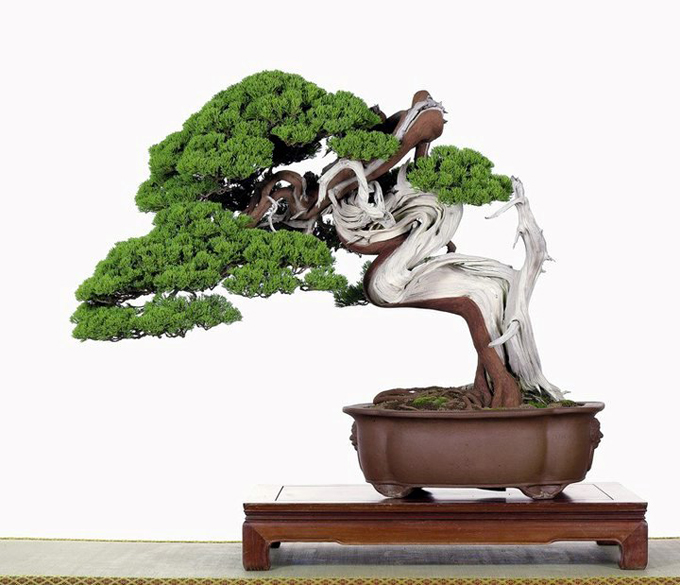
Here’s an exquisite, powerful old tree that features some wild twists and turns. I found it here. My guess is it’s a Shimpaku juniper that was originally collected in the mountains of Japan. A further guess is that it fell into the hands of one of the Japanese masters. One more guess; it was professionally photographed and appears in a Japanese bonsai book or Bonsai magazine Okay, I stand corrected (see comments)

That Old Question: Naturalistic vs Highly Styled Bonsai
Though nature originally grew, shaped and aged this wonderful old tree, there is no pretending that humans didn’t have a strong hand in bringing it to the way it appears above. At the risk of stating the obvious, this combination of nature and the hand of man is how a bonsai comes into being. Some bonsai exhibit more nature and less man, and others exhibit less nature and more man, but all are bonsai. Which you prefer (if you have a preference) is simply a matter of taste.

How this tree came into being
A lot went into creating the tree you see above. Nature originally grew, shaped and aged it. Then someone found it, dug it up, put it in a growing pot, nursed it to health, did some pruning to remove unwanted branches, fed it and grew it on to develop the foliage, shaped the foliage, did extensive carving on the deadwood, added numerous little touches and potted it (the ‘someone’ mentioned above is most likely at least two, probably more different people).

The tree below has a simpler history
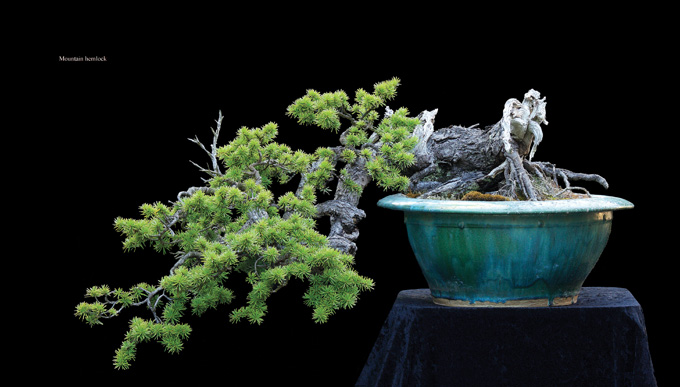
The tree below belongs to Dan Robinson (Elandan Gardens). You can find it and many others in Gnarly Branches, Ancient Trees (one of the most ‘eye opening’ bonsai books you’ll ever see). Dan does all the human parts himself, collects, grows on and styles. With Dan’s approach, the ‘styles’ part is minimal; he lets nature do most of the talking. But don’t be fooled into thinking he just digs ’em up and pots them. What Dan does involves an expert eye and very subtle ‘just enough’ approach to styling.

Mountain Hemlock by Mother Nature with some help from Dan Robinson (“The Picasso of Bonsai”). From Gnarly Branches, Ancient Trees by Will Hiltz.

$1,000 Bonsai from Scratch Contest: For Example…

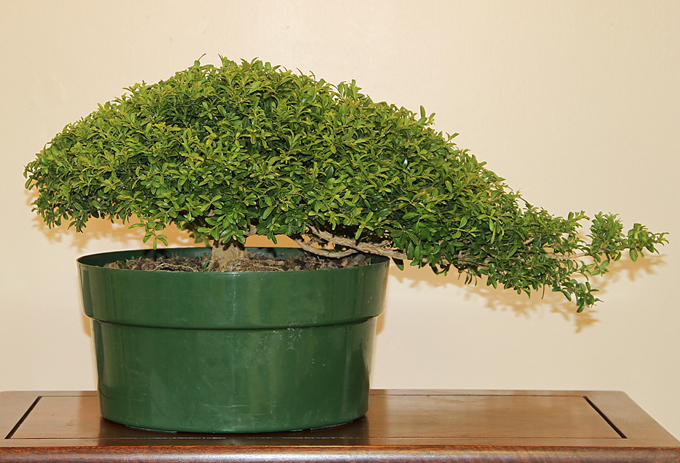
Before; Buxus microphylla compacta. Actually, I’m not sure this is a perfect example of a before tree. It looks like it has been trimmed a bit already. Anyway, if you look at this and then you look at the ‘After tree’ below, you can still get the drift.

This is not an entry
In fact, it’s by one of the judges, Bill Valavanis. It is however, an example of what you can do with nursery stock.

You can win
There’ll be lots of prizes; $1,000 worth of gift certificates, plus some other donated stuff (you can donate something bonsai if you’d like your name emblazoned and even linked). All you have to do is find some decent completely untrained stock, take some photos and get to work. Here are the details.

After. By Bill Valavanis. Again, this isn’t a perfect example because the stock plant had already been pruned for bonsai (maybe even raised for bonsai). Still it’s an example of ‘almost from scratch’ to a pretty decent tree.

You’ll need some wire and our 25% off all wire sale is still going strong.

Shape Shifting: Robert Steven Transforms a Juniper

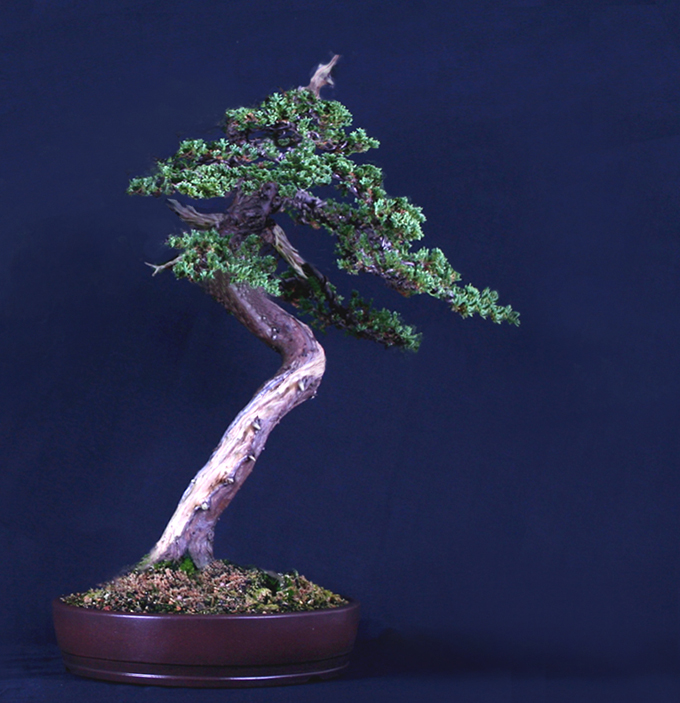
Robert Steven’s simulation of a juniper that was submitted by Peter Woosley. Peter’s original is below.

A surprising shift
Robert fooled me (once again). At a glance I thought the tree had potential more or less as it was. All it needed was perhaps a little lean to the right, some work on the crown and that heavy upper section of trunk (where the first branches come off), and especially on the somewhat stiff feeling branch on the lower left that caused the whole tree to seem unbalanced. However, Robert saw things differently and ended up with a much more interesting outcome (though I would still like to see that thick upper section of trunk hidden or reduced a bit).
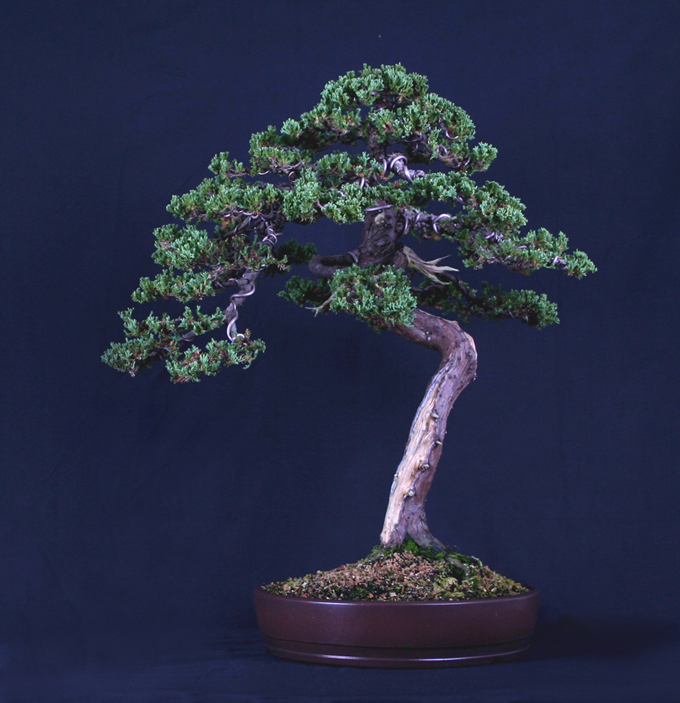
Peter Woosley’s original.

Robert Steven’s critique
This tree looks young and there is also a visual balance issue. The canopy is too big which gives an overweight feeling to the top of the tree. Also, the side branch on the left that points downward disturbs the visual flow. Overall, the tree seems unbalanced and the form of the round canopy does not fit to the character of the trunk line (you can read my book Vision of My Soul to learn more about the character of line and form).

I would suggest a total restyling. The main objective is to explore the character of the tree based on the dynamic trunk line. In order to emphasize this dynamic flow, I would change the tree’s movement from the left to the right, by repositioning the the tree in the pot and leaning the trunk slightly to the right. I would also shorten all the branches on the left side, and extend the flow to the right.

In order to make the tree look older, I would shorten the crown and turn the apex into small jin, and reform the foliage to an irregular form that fits the character of the casual trunk line.

Last but not least, I would continue the shari to the right (I see a cut there), then continue from the back to the branch on the left. By doing so, the trunk movement is improved and the tree looks older with more charm.

General comments
There is more than one way to design any bonsai and my critiques and recommended solutions might not always fit your taste and personal preferences, but I always try to give my opinion based on artistic and horticultural principles.

To understand my concepts better, please read my books Vision of My Soul and Mission of Transformation which are available at Stone Lantern.

You can also visit my bonsai blog.
Wild and Wonderful Bonsai

Wild! There’s so much going on with this delightfully crazy tree, that you could spend a long time looking at it and still see something new. It’s a Chinese juniper by Yang Hsui.

Taiwanese Bonsai
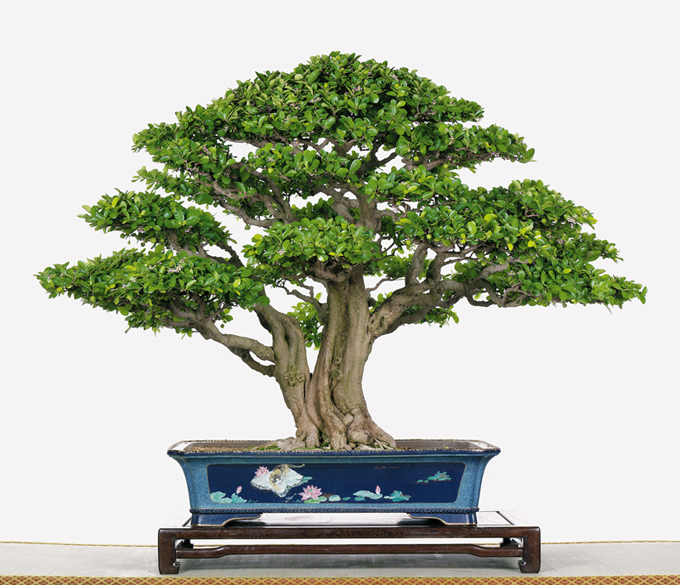
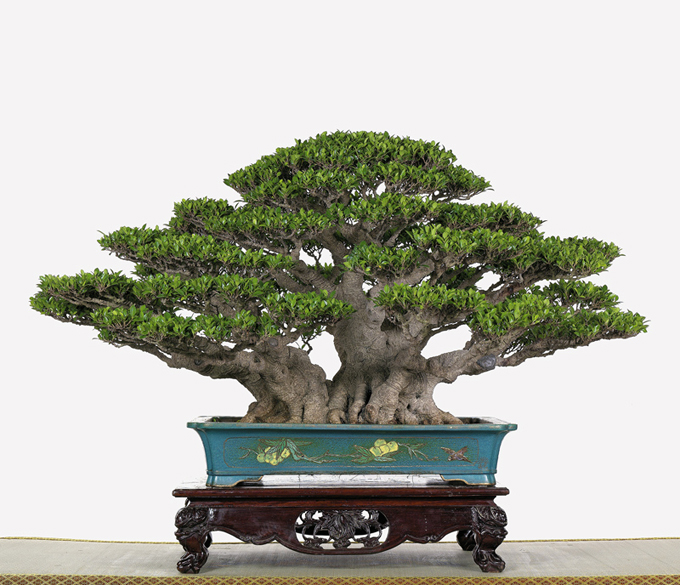
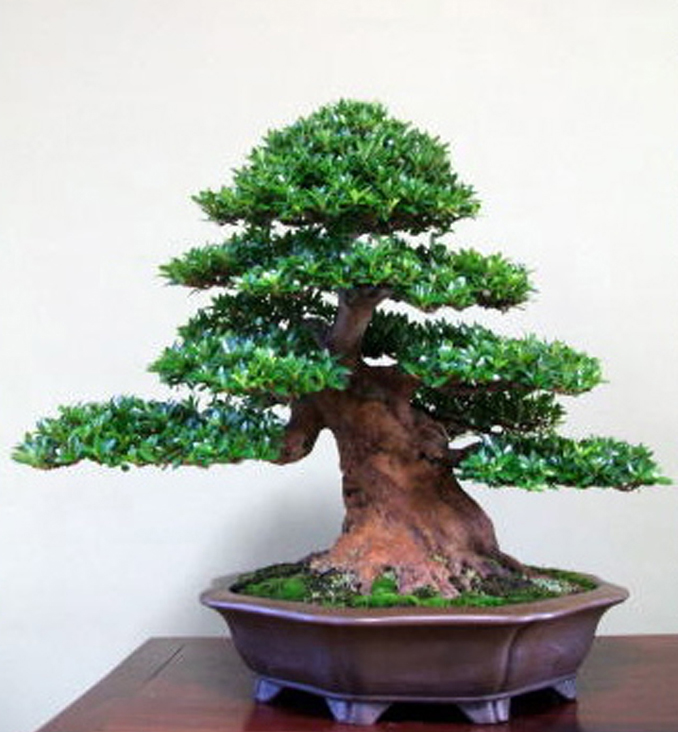
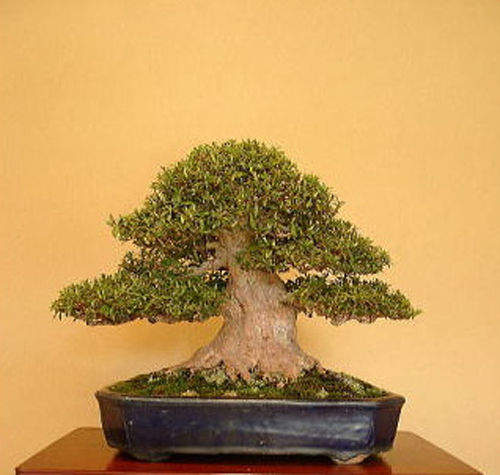
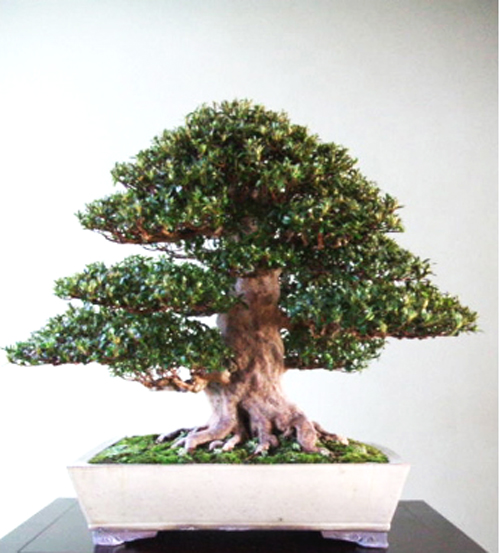
The three bonsai shown here are all from the 2008 Taiwan Bonsai Creators Exhibition booklet which appears on Bonsai Shari Si-Diao,  Cheng, Cheng-Kung’s website. Cheng is one Taiwan’s most famous, and most innovative, bonsai artists and teachers.

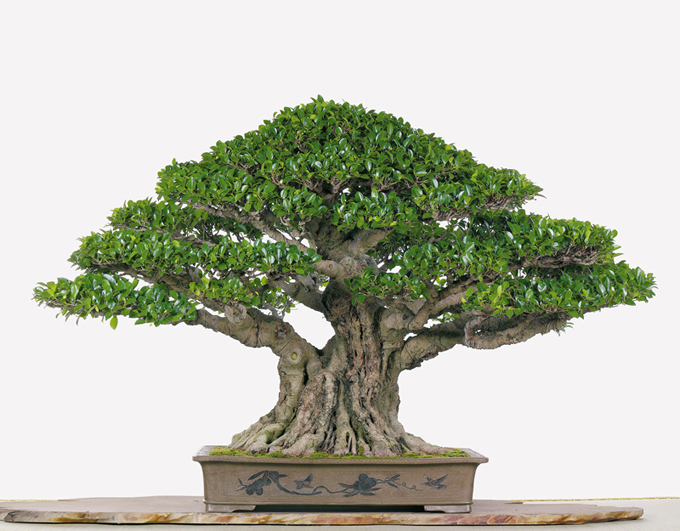
This one is more wonderful than wild. But take a look at the size of the pot relative to the tree and particularly the trunk. Could the tree really stay in that pot? I suspect it’s it just for show and soon it will go back into a larger container. The texture of the trunk is interesting too. Looks kinda like termites got into in.
Ficus microcarpa by Hsieh, Shun-Chin

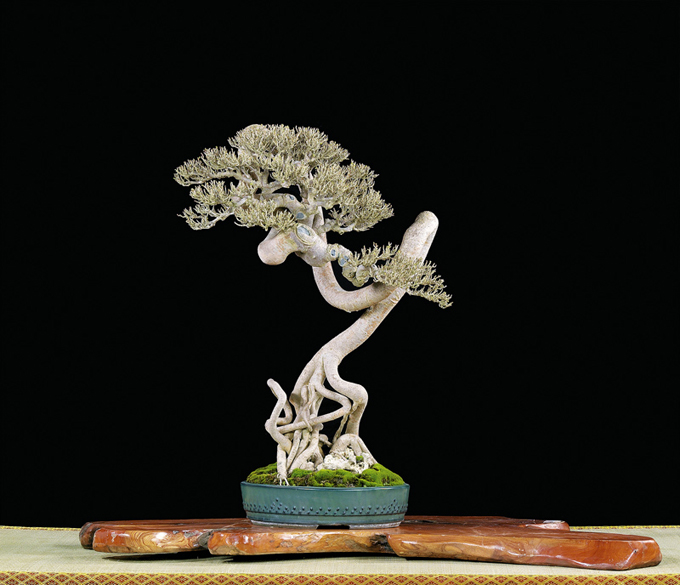
Wild and eccentric. I wonder if this tree was influenced by calligraphy? Certain Chinese bonsai styles use calligraphy as inspiration. Hibiscus tiliaceus by Chien, Yuen-Kui.

Mixed Maple Forest

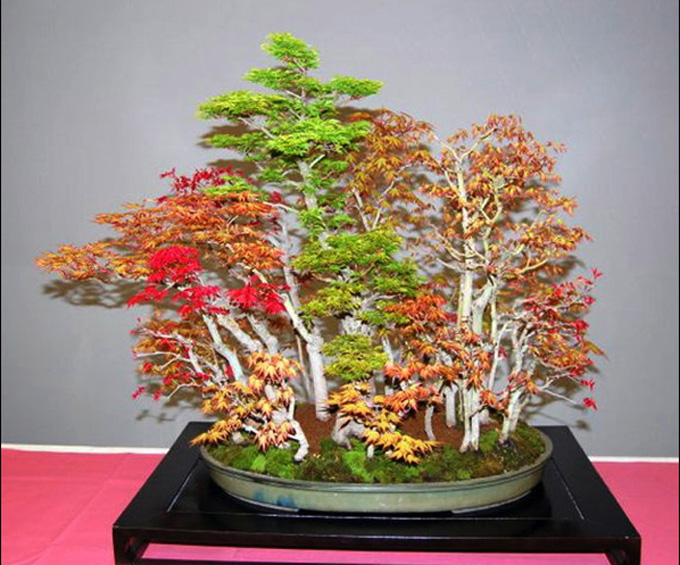
This playful mixed Japanese bonsai forest is by Juan José Bueno Gil.

Rare indeed
You don’t see too many mixed bonsai forests, and my guess is that you’ve never seen one with this many varieties (above). They may all be the same species for sure (Acer palmatum), but they aren’t all the same. How many varieties can you count?

We’ve shown this mixed forest in Bonsai Bark before. It’s one of my favorites (though it would be nice if the photo were larger). It’s from Saburo Kato’s Forest, Rock Planting & Ezo Spruce Bonsai (published by The National Bonsai Foundation and distributed by Stone Lantern).

A different kind of mix
The planting at the top of this post contains only one species. This one contains five species (six varieties in all) of trees, two of which are Japanese maple varieties. The six are (left to right):  Japanese maple (Acer palmatum), Japanese beech (Fagus crenata), Dwarf stewartia (Stewartia monadelpha), Kyushu azalea (Rhododendron kiusianum), Japanese red-leaf hornbeam (Carpinus laxiflora), and Deshojo Japanese maple (A. palmatum ‘Deshojo’).

Three Monster Satsuki Bonsai

A prize winning Satsuki azalea from Bonsai -Matsuda Seishoen displaying it power, balance and tranquility.

A rare and wonderful trunk
The trunk on this Satsuki azalea (above) is near perfection; heavy and powerful with great texture, color and a well balanced yet completely natural looking nebari that adds stability with the way its fingers clutch the soil (okay, okay, getting a little carried away, but still…).

Japanese style
Some people say that Japanese bonsai are often overly stylized. If you are of that opinion, then you might think that the foliage pads on this tree are too neatly trimmed and perhaps too perfectly separated. I can see why someone would hold that view, yet to my eye, this tree is near perfect; both in its individual parts (including the perfectly choosen pot) and its overall effect.

Our Satsuki book
Satsuki Azaleas for Bonsai and Azalea Enthusiasts, by Robert Callaham and published by Stone Lantern, is the only Satsuki book available in the English language (that we know of, at least). If you love azaleas and you love bonsai, you’ll enjoy this excellent book.

Another powerful Satsuki azalea from Bonsai -Matsuda Seishoen. It’s not that often you see a trunk so short and yet so strong. Excellent nebari too.

This one is also from Bonsai -Matsuda Seishoen. It’s a little different than the other two; the trunk has a lot less taper, and the unruly nebari gives the tree a wilder, freer look.

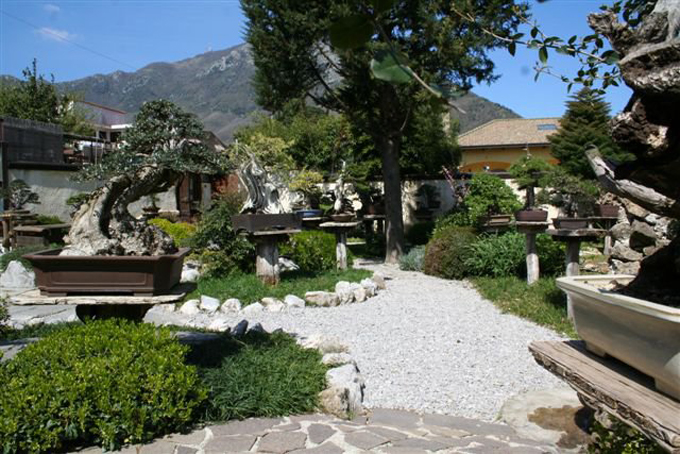
Backyard Bonsai #10

This isn’t necessarily the best shot of these gardens. I picked it because I think the mountain in the background gives a good sense of place (somewhere in Italy).

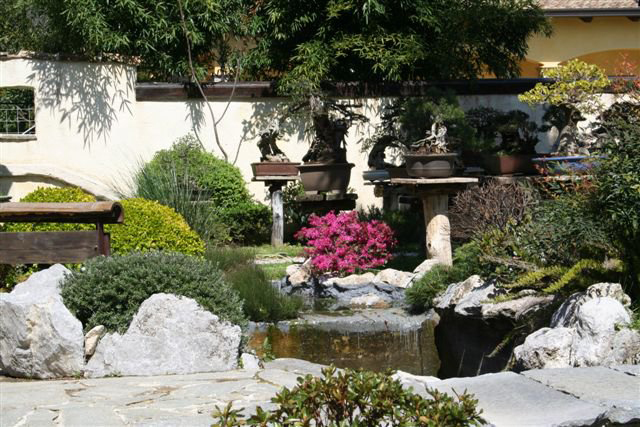
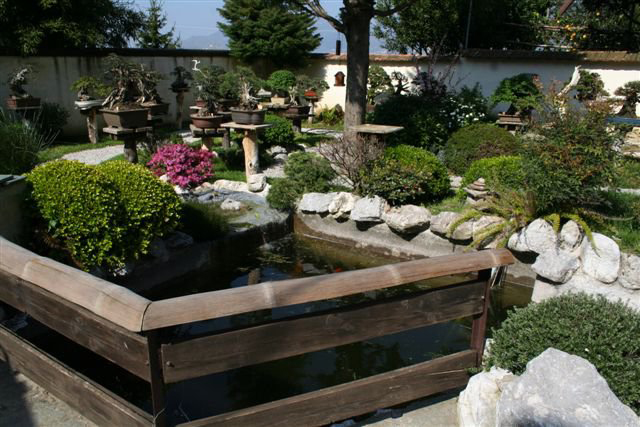
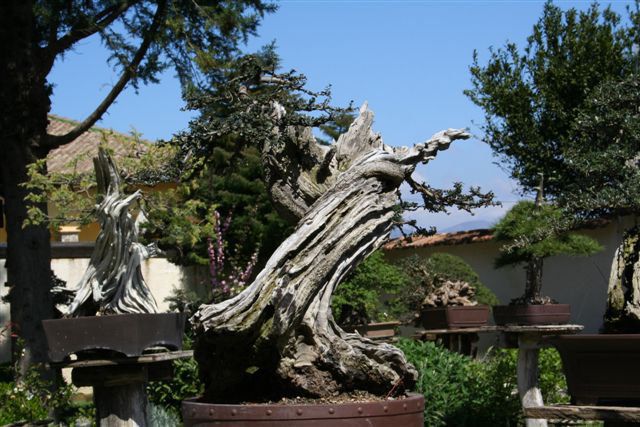
Antonio Gesualdi’s Bonsai Garden
I found these photos on facebook. They are part of album entitled AIkI BONSAI EN… my Bonsai Garden by Antonio Gesualdi. Though none of the photo are perfect, still, they capture the delights of Antonio’s little piece of bonsai and garden paradise.

Our backyard bonsai tradition
We’ve been occasionally putting up photos of backyard bonsai displays almost since our beginning, way back in the recesses of time (more than two years now). Here’s our last one. Good ones aren’t that easy to find, but this one certainly qualifies. If you’ve got photos of yours, I’d love to see them <wayne@stonelantern.com>

A pond and bridge and plenty of other Japanese influenced landscaping features that go well with bonsai.


I like this shot. Even though there’s a lot going on, this corner of the garden seems lush and peaceful. It also shows a lot of  very large bonsai.

Two very powerful trunks and a blue blue sky.

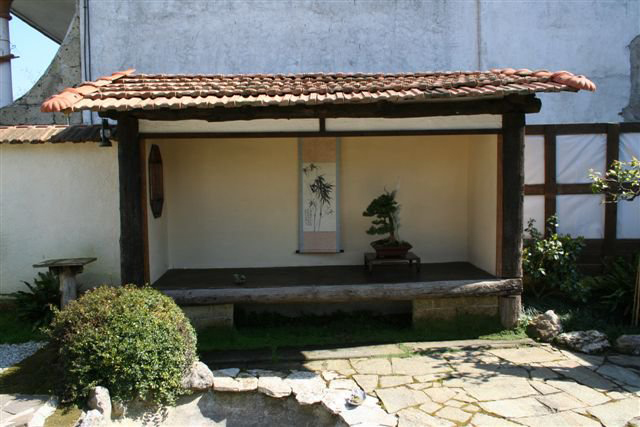
Antonio’s outdoor tokonoma.

Time for Spring Cleaning

A set of Koyo stainless bonsai tools in a brown suede tool roll (the suede rolls we offer now are black).

Now that we’re sure it’s really spring
Today I watched a Robin eating a worm on my back lawn. It was the first Robin of the year (for me at least), so now that I’m sure it’s really spring, it’s time to break out the bonsai tools, pots, soil and all the rest and get ready for that hectic digging and potting season.

First things first: cleaning tools
For some reason I didn’t finished cleaning all my tools before I put them away in the fall, so today I got them all out and finished the job. It was no mean feat; I try to use all the tools we sell, so I’ve got dozens to clean. I used our coarse cleaning block (a medium block would work too) to get the tough sap and rust spots off (I’m a little embarrassed to admit that some of my tools had a little rust on them). Then I followed with a fine cleaning block to polish them up. Finally a soft rag and a spot of camellia oil, and the job was done.

Tool cleaning blocks.

Sharpening comes later
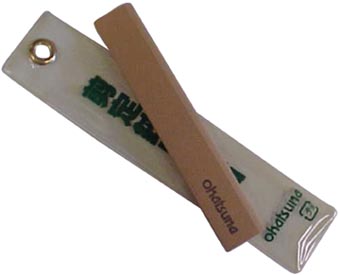
Each time you sharpen a tool, the steel in the blade is weakened, so it’s best to wait to sharpen until you’re sure the tool really needs it. Nothing is ready to cut yet, so I won’t know which, if any, of my tools need sharpening for a while. When I do have to sharpen, I’ll use our Okatsune stone. Okatsune tools are among the best in the world, and, as you might expect, their stone is excellent. Best of all, one side is curved. Perfect for sharpening curved blade tools like concave branch cutters and knob cutters.

Okatsune sharpening stone. Though it’s difficult to tell, the edge on the right is curved to fit curved blades.